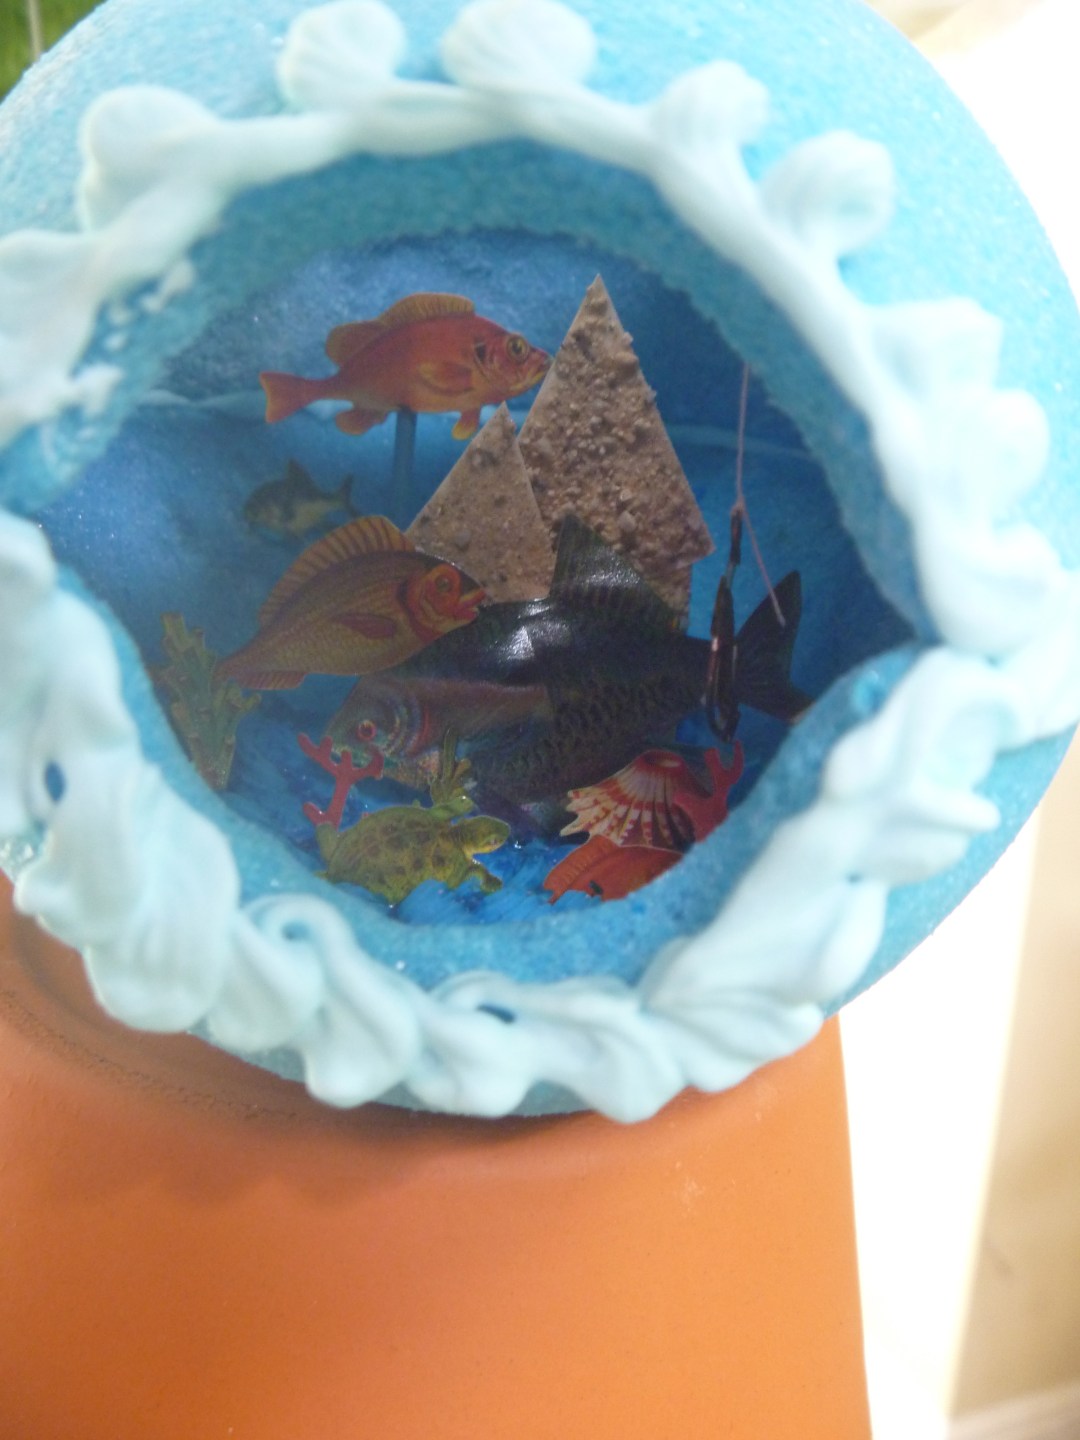
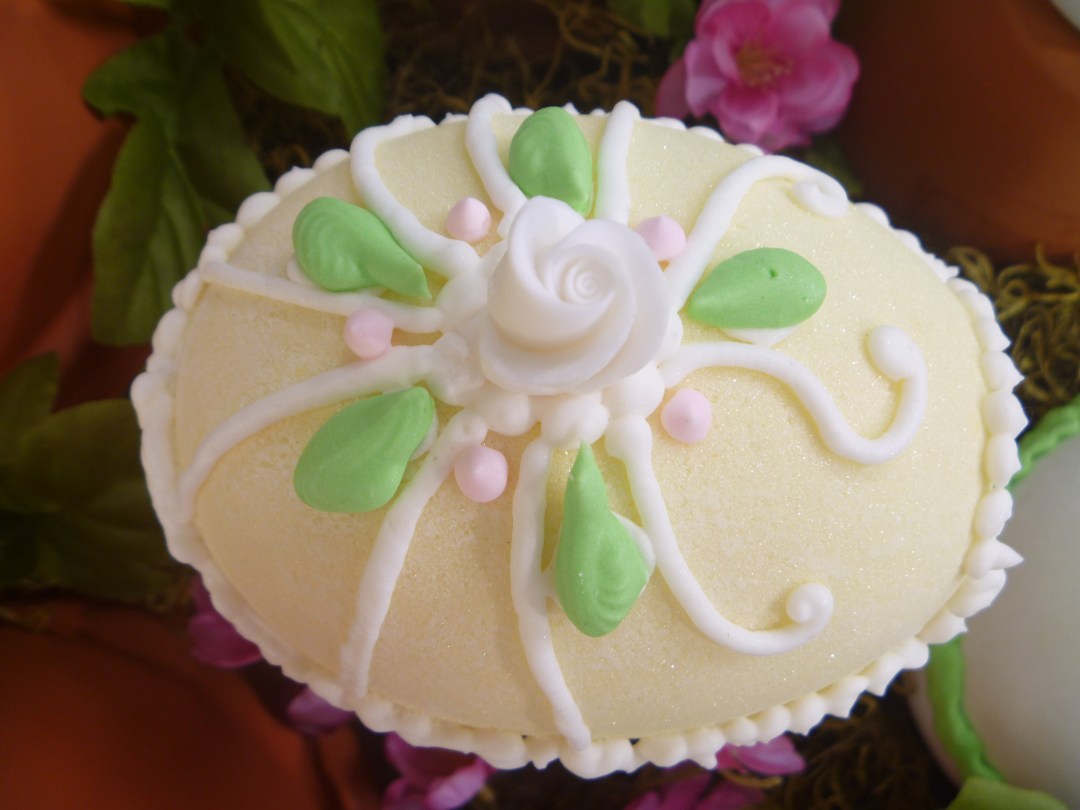
I’ve been making these sugar eggs since I was a kid… in fact, I still have one that I made back then! It’s a bit faded, and my kitties licked off the frosting in a couple spots, but I’ve kept it all this time, because I love it.
The origin of the panorama – or diorama – egg is unknown. Some folks say they’re German, some say they hail from Italy, others claim they possess Ukrainian or Russian roots.
An interesting article from 1987 (!) on the subject can be found here: http://bit.ly/10eDYbq Another, from the New York Times, notes that while current commercial eggs must be entirely edible, early models had paper scenes inside. http://nyti.ms/14AcxOL
No matter their provenance, I adore these little sugared gems.
A few years ago I made some eggs that were more modern and updated, using bold colors, whimsical themes. They were fun and festive, and something I could keep out year-round.
This year I wanted to go back to the traditional Easter sugar panorama eggs. They’re classic, beautiful, and have a particular charm.
Materials Needed:
Egg molds – found in craft stores, cake decorating shops – I found mine at Marshalls.
Cornstarch
Superfine sugar
Meringue powder
Water
Food coloring
Spoon
Cookie sheet
Royal icing (recipe below)
Piping bags
Scissors
Candies
Shredded coconut
Sugar eggs:
4-1/2 C super fine sugar
2 tsp. meringue powder
3 Tbl. water
Place sugar and meringue in a large mixing bowl, whisk to combine. Add water and mix with electric mixer or spoon. If you are coloring your eggs, add color to water. For light pastel eggs — which work best for light diffusion — use only 1 or two drops of liquid food coloring.
Mix until well combined, knead with hands if necessary. Keep an eye out for meringue powder- or color-lumps, which sometimes form. Work them into mixture with fingers, if necessary.
Making the Sugar Egg Shells:
To prepare molds, dust lightly with cornstarch. This will help the sugar release from the mold.
Mound sugar into molds, and press firmly against the sides and bottom, creating a thin shell — about 1/4″ to 3/8″ thick, depending on the size of the mold (with a larger mold, thicker sides).
Straighten the edges by running your finger along the rim.
Using a spoon, cut out a ‘window’ in the narrow end of the sugar eggshell.
Gently turn eggs out onto a cardboard square, and place onto a cookie sheet.
Remove plastic molds.
Bake at 200 degrees for 20 to 25 minutes.
Allow shells to cool. If the insides are not hard, return to oven with inside exposed for another 15 minutes.
After shells are set and completely cool, decorate with royal icing.
Royal Icing:
4 C powdered sugar
3 Tbl. meringue powder
1/2 tsp. clear-colored extract — almond, lemon, etc.
1/2 to 3/4 C warm water
In the bowl of an electric mixer, beat sugar and meringue powder until well combined. Add extract and water, beginning with 1/2 C. Beat on medium until thick and glossy, and stiff peaks form – about 5 to 7 minutes.
Consistency can be adjusted by adding more water or sugar, depending on use. Color as desired.
Colored Coconut Grass
Place shredded coconut in a glass bowl, add a few drops of green liquid food coloring. Stir with a fork for several minutes until the coconut is the desired color.
Assembling the Eggs:
Pipe a layer of green icing in the bottom of the egg (the side with a flattened surface).
Stick decorative items into the frosting – chicks, bunnies, flowers, etc. If they start to lean, use q-tips to hold in place until the icing fully cures. Before the icing is dry, sprinkle with green coconut.
When the inside is perfect, pipe a thick line of icing along the edge of the egg. Place the top on the egg, and press down. Remove any excess icing with your finger.
Embellish the exterior of the egg using cake-decorating tips, covering the seam and opening edge with a decorative piped line. Attach flowers or pipe designs on the top.
Allow the egg 1 hour to dry completely.
Tips and tricks:
Royal icing is like sweet cement… once’ it’s cured, It’s not going anywhere. And it smells much better than it tastes.
Meringue powder in the sugar-mixture makes the eggs super strong. Some people recommend filling the mold completely, curing for some time to create a shell, and then scooping out the interior. I tried this method several times, and never had one survive. With the mold-and-press method I describe above, I didn’t have one fail – and I made nearly 40 shells!
The eggshells can be made weeks ahead, stored in a dry place. Don’t throw them away if you get tired. Store them well and you may be able to complete the eggs next year!
Interior shapes can also be made days in advance – I piped bunnies, chicks, flowers and carrots onto parchment paper, let them dry and stored them for use later.
Candy -covered almonds look like giant eggs inside your diorama!
I collect little pretties – tiny ornaments, small silk flowers, stickers, etc. year –round.


6 Comments
Melanie
March 21, 2019 at 1:54 pmI Absolutely LOVE,LOVE,LOVE these eggs and everything about them.I am wondering if after I’m done decorating and still have some royal icing left,can it be saved?
Tamara Berg
March 21, 2019 at 2:08 pmAw, thanks! Yes, Melanie, the royal icing saves really well, in the fridge, in air-tight plastic containers. Mine saves for a couple weeks. Have fun!!
Lisa Broussard Januska
February 3, 2020 at 4:03 pmI would love to ask you please, how did you get the cut out on the top of the blue opened end egg? I’ve never seen one with the top cut out with a design before, great idea and great job!! I’m trying my hand at these this year, gotta get thru Mardi Gras and St. Patrick’s days 1st….lol!!! Thanks for any info you can offer!!!!
Lisa
Lisa Broussard Januska
February 3, 2020 at 4:07 pmWell I though I had left you a comment, asking about the cut out on the “blue” egg, but now I don’t see it here, and made a correction to the color in my above comment!? Was wondering how you made the cut out on the top of the purple egg, I’ve never seen that before…it’s so unique!!
Tamara Berg
February 3, 2020 at 4:53 pmHi!! Gosh, it’s been years since I made that one… if memory serves, I think I used a dremel! The sugar is pretty hard once it dries, so I’m pretty sure that’s how I did it. And… it was all because the purple made the inside super dark, and nearly impossible to see the items inside. I’m sure that’s why the eggs are usually pastel colored.
Tamara Berg
February 3, 2020 at 4:59 pmAlso… both the blue and purple ones are cut out at the top in addition to the front window. 😁